

How to Teach a Dog to Heel - Position, Reward, Proofing
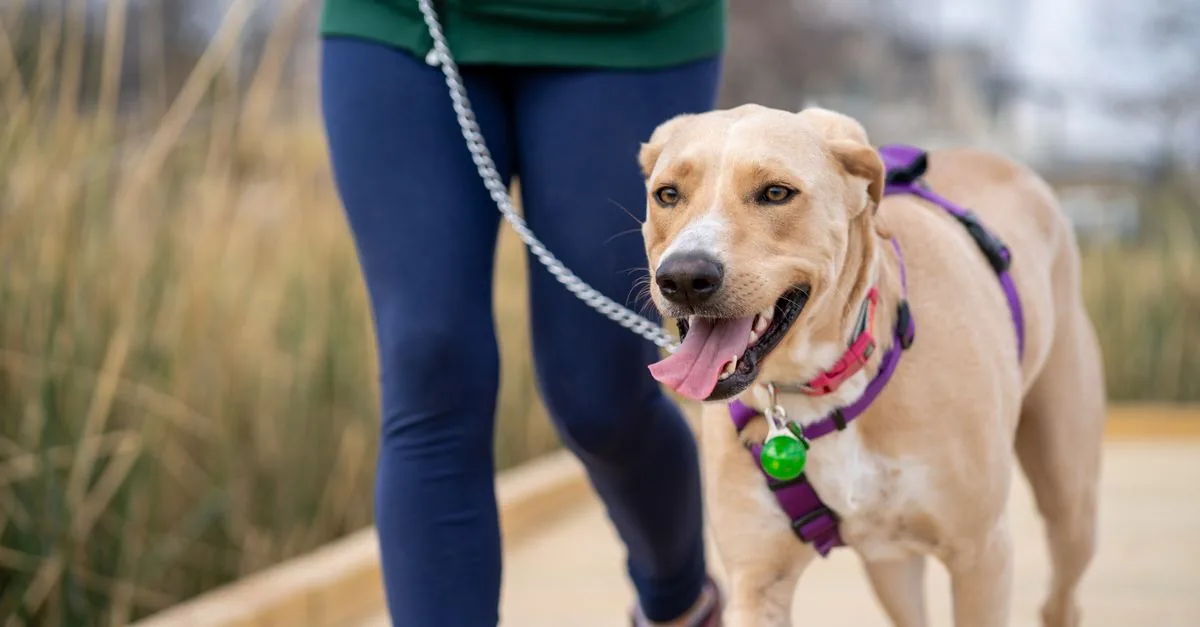
Heel is a precise position: your dog walks right at your leg, focused on you. Teach it with positive reinforcement - lure the dog into position, reward the exact moment it is in the right spot, start with a single step, add turns and pace changes, and raise criteria slowly. It is different from loose-leash walking, where the dog is free to sniff.
A dog heeling looks impressive: glued to your side, focused, ready to turn the instant you do. It isn't magic or heavy-handed discipline - it's a trained position you build with rewards, step by step. First, one distinction you can't skip, because without it you'll only frustrate yourself and your dog.
Heel vs loose-leash walking - not the same thing
These are two separate skills, and one doesn't replace the other.
Loose-leash walking is freedom within limits: the dog can walk ahead, to the side, sniff and explore - as long as the leash stays slack. It's the default mode for an everyday walk. If your dog pulls, loose-leash walking is what you fix first - we have a full, detailed guide on exactly that: loose-leash walking.
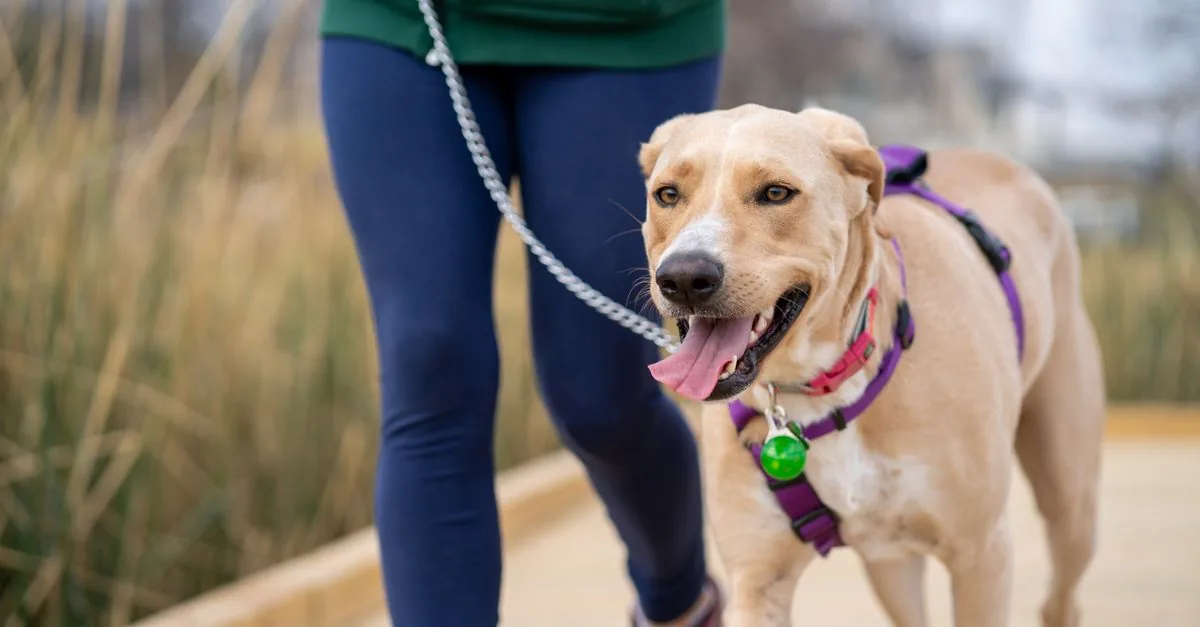
Heel is precision: the dog walks right at your leg (shoulder level with you), attention on you, ready to react to every turn and change of pace. It's a state of high concentration - it tires a dog mentally. That's why you don't use it for a whole walk, only where you genuinely need control: crossing a busy road, passing through a crowd, walking your dog past a distraction.
| Feature | Loose-leash walking | Heel |
|---|---|---|
| Dog's position | Ahead or to the side, freely | Right at your leg, shoulder aligned |
| Focus | Free to sniff and explore | Full attention on you |
| Effort for the dog | Low, can hold it long | High, short stretches |
| When to use | Default, most of the walk | Control: crowds, roads, passing a trigger |
| Leash | Slack, just not taut | Slack and short, dog close |
The practical takeaway: train both. Loose-leash walking is your daily baseline, heel is a tool for specific situations.
What you need before you start
Not much. A fixed-length leash (not a retractable), a plain collar or harness, and plenty of small, high-value treats - the kind your dog will do anything for. A marker helps too: a clicker or one clear word (like yes) to pinpoint the right moment. The marker tells your dog "that was perfect" - and a reward always follows it. We cover how to introduce one in more depth in recall training, where the marker's precision works the same way.
Run your first sessions at home, with no distractions. And keep them short - 3 to 5 minutes. Three mini-sessions a day beats one long one that bores your dog.
How to teach a dog to heel - step by step
Step 1. Reward the position itself
Before you take a single step, teach your dog that being at your leg pays off. Stand still, lure the dog into position at your chosen leg (say, the left). The moment it's there - marker and reward, delivered low, right at your leg. Repeat several times. The dog should learn: "this spot at your leg = rewards rain down here."
Step 2. Take one step
Now add movement - but minimal. Take one step forward, encouraging the dog to move with you and stay at your leg. Back in position? Marker, reward. Then two steps, three. Don't rush - quality of position matters more than distance. If the dog forges ahead, don't jerk: stop, turn around, and start again, rewarding when it lines up at your leg.
Step 3. Add the cue
Once your dog walks a few steps steadily at your leg, add a word - "heel," "by me," anything, as long as it's consistent. Say it just before you move off, while the dog is already in position. That way the cue comes to mean "walk at my leg now," instead of turning into empty noise.
Step 4. Build distance and duration
Gradually extend the stretches: 5 steps, 10, 15. Reward less often, but still for a good position. Move from a treat every step to a reward every few steps, then randomly - that's what cements the habit. Still short sessions, still in a calm place.
Step 5. Turns and pace changes
This is where heel earns its keep. Weave in turns (right, left, about-turn) and changes of speed (slower, faster). The dog has to track your leg to keep up - and that's exactly what builds the focus you're after. Reward when it holds position through the change. Turns into the dog are easier to start with; turns away from the dog are harder - add those later.
Step 6. Proofing - heel where it's hard
This is the stage where most people give up too soon. A dog that heels in the living room won't do it automatically on a street full of smells. You have to transfer the skill gradually, raising one factor at a time: the yard, a quiet side street, the edge of a park, a busier pavement, finally near other dogs. When you raise difficulty, ease everything else for a moment (shorter stretch, more rewards). We describe the same distance-to-trigger control in the dog that lunges towards other dogs.
Common mistakes
- Sessions too long. Heeling is mentally tiring. A few minutes is plenty.
- Repeating the cue with no result. If the dog doesn't respond, drop back a step - don't shout louder.
- Raising difficulty too fast. Jumping from home to a busy promenade is a recipe for failure. Build the ladder.
- Rewarding high and away from your leg. Deliver the treat low, at your leg - where the dog should be. Otherwise you teach it to peel off towards your hand.
- Reaching for a prong collar. Heel comes from rewards and consistency, not pain.
Heel is a skill for specific moments, not the whole day - but once you've got it, passing a crowd or a busy road stops being a fight. Train it where it's calm before you test it out in the real world. The DOGOUT map shows quiet parks and off-lead areas nearby where you can practise away from the crowds - find your spot and get out there today.
Frequently asked questions
- What is the difference between heel and loose-leash walking?
- Heel is a precise position - the dog walks right at your leg, shoulder aligned with you, focused and ready to follow turns and pace changes. Loose-leash walking is a looser rule: the dog can move ahead or to the side and sniff, as long as the leash stays slack. Heel demands far more focus, so you won't hold it for a whole long walk.
- Which side should a dog heel on?
- Traditionally the left, but that is a convention, not a requirement. Pick one side and stay consistent so your dog knows where to be. If you train for a specific sport, follow the standard for that discipline.
- At what age can I start heel training?
- You can practise the basics of position and focus with a puppy indoors, in short, pressure-free sessions. Full, sustained heeling needs maturity and concentration, so don't expect precision from a young dog. Always use positive reinforcement.
- Do I need a clicker to teach heel?
- It's not required, but it helps. A clicker (or a clear marker word like yes) pinpoints the exact moment your dog was in the perfect position - and that precision speeds learning a lot. A reward always follows the marker.
- My dog heels at home but not on the street. Why?
- That's normal - dogs don't generalise automatically. A skill trained in the living room doesn't transfer by itself to a street full of smells and other dogs. You have to proof it: repeat in gradually harder places, raising one factor at a time.
- Do I need a prong collar to teach heel?
- No. Heel is taught with positive reinforcement - rewarding the correct position. Prong collars and choke chains cause pain and teach the dog nothing about where to walk or why it should want to be there. A plain fixed-length leash, treats and consistency are all you need.