How to Teach a Dog to Stay - The 3D Method and Release Cue
Teach stay using positive reinforcement by building three variables - duration, distance, and distraction - one at a time. Never increase more than one at once. Always finish every repetition with a release cue (such as 'free' or 'ok') so your dog knows the position is over.
Stay is a command that buys time. Time to close the gate, answer the door, or wait while a cyclist passes. It sounds simple - and it is simple, if you avoid the mistake most owners make: too much, too soon, too fast.
What Is the 3D Rule?
When teaching stay you are working with three variables:
- Duration - how long the dog holds the position
- Distance - how far you can move away from the dog
- Distraction - what is happening around the dog during the stay
The golden rule: increase only one variable at a time. If you are extending duration, stay close and keep the environment quiet. If you want to practise in a park with other dogs, stand right next to your dog and only ask for a short stay. Breaking this rule is the most common reason stay falls apart.
The Release Cue - Why It Is Essential
Many people teach stay but forget about the release cue - a short word or signal that tells the dog the exercise is over and they may move. Without it, the dog decides when to break the stay on their own - which destroys the command, because the dog starts testing when they can leave the position.
Choose one word and stick to it consistently: "free", "ok", "off". Use it every single time - even when the stay only lasted three seconds.
How to Teach a Dog to Stay - Step by Step
Step 1. Start From Sit or Down
Stay is built on top of another base command. Most people start from sit, as most dogs know it well. Make sure your dog performs the base command reliably and quickly before adding stay.
Step 2. Teach Duration - Seconds First
Ask for a sit. Stand right in front of the dog. Wait 2-3 seconds, reward (while standing close to the dog, not calling them toward you), then give the release cue. Repeat, gradually stretching to 10, 15, 30 seconds. If the dog breaks position - no punishment, simply reset and go back to a shorter time. Add the word "stay" only once the dog is consistently holding for a few seconds.
Step 3. Add Minimal Movement
Once your dog reliably holds for 15-20 seconds with you standing close, you can start adding your own movement. Take half a step sideways - come back, reward. One step forward - come back, reward. At this stage always return to the dog to reward rather than calling them toward you.
Step 4. Gradually Increase Distance
Step out one pace, return, reward. Then two paces, then three. Vary your direction - side to side, behind the dog, circle around them. Key point: always return to the dog to reward at this stage. Do not call the dog to you - that blurs the line between stay and recall.
Step 5. Practise in New Locations
When stay works reliably indoors with no distractions, take the training outside. Start somewhere quiet, then add a few people walking by, then a park. Drop back to shorter durations and closer distances in each new place - your dog needs to re-learn the command in each new environment.
Step 6. Add Deliberate Distractions
The final stage is training in real-world conditions: other dogs nearby, bicycles, children, noise. Have someone walk past while your dog holds a stay. Start with mild distractions and build resilience gradually. This is the stage that takes the longest - and gives the biggest reward when it clicks.
Common Stay Mistakes and Fixes
| Mistake | Why It Hurts | What to Do Instead |
|---|---|---|
| Increasing time and distance together | The dog cannot tell which part is harder | One variable at a time |
| No release cue | Dog decides when to break position | Always finish with a release word |
| Calling the dog to you as the reward | Dog confuses stay with recall | Return to the dog to reward |
| Punishing for breaking position | Dog starts avoiding the command | Reset without punishment, lower the difficulty |
| Sessions ending with repeated failures | Frustration and loss of confidence | End the session before failures begin |
Stay and Loose-Leash Walking
A well-trained stay makes loose-leash walking much easier - especially when you want to pause before a kerb or wait while another dog passes. Both exercises teach the dog that calm pays off - which is the foundation of any good working relationship.
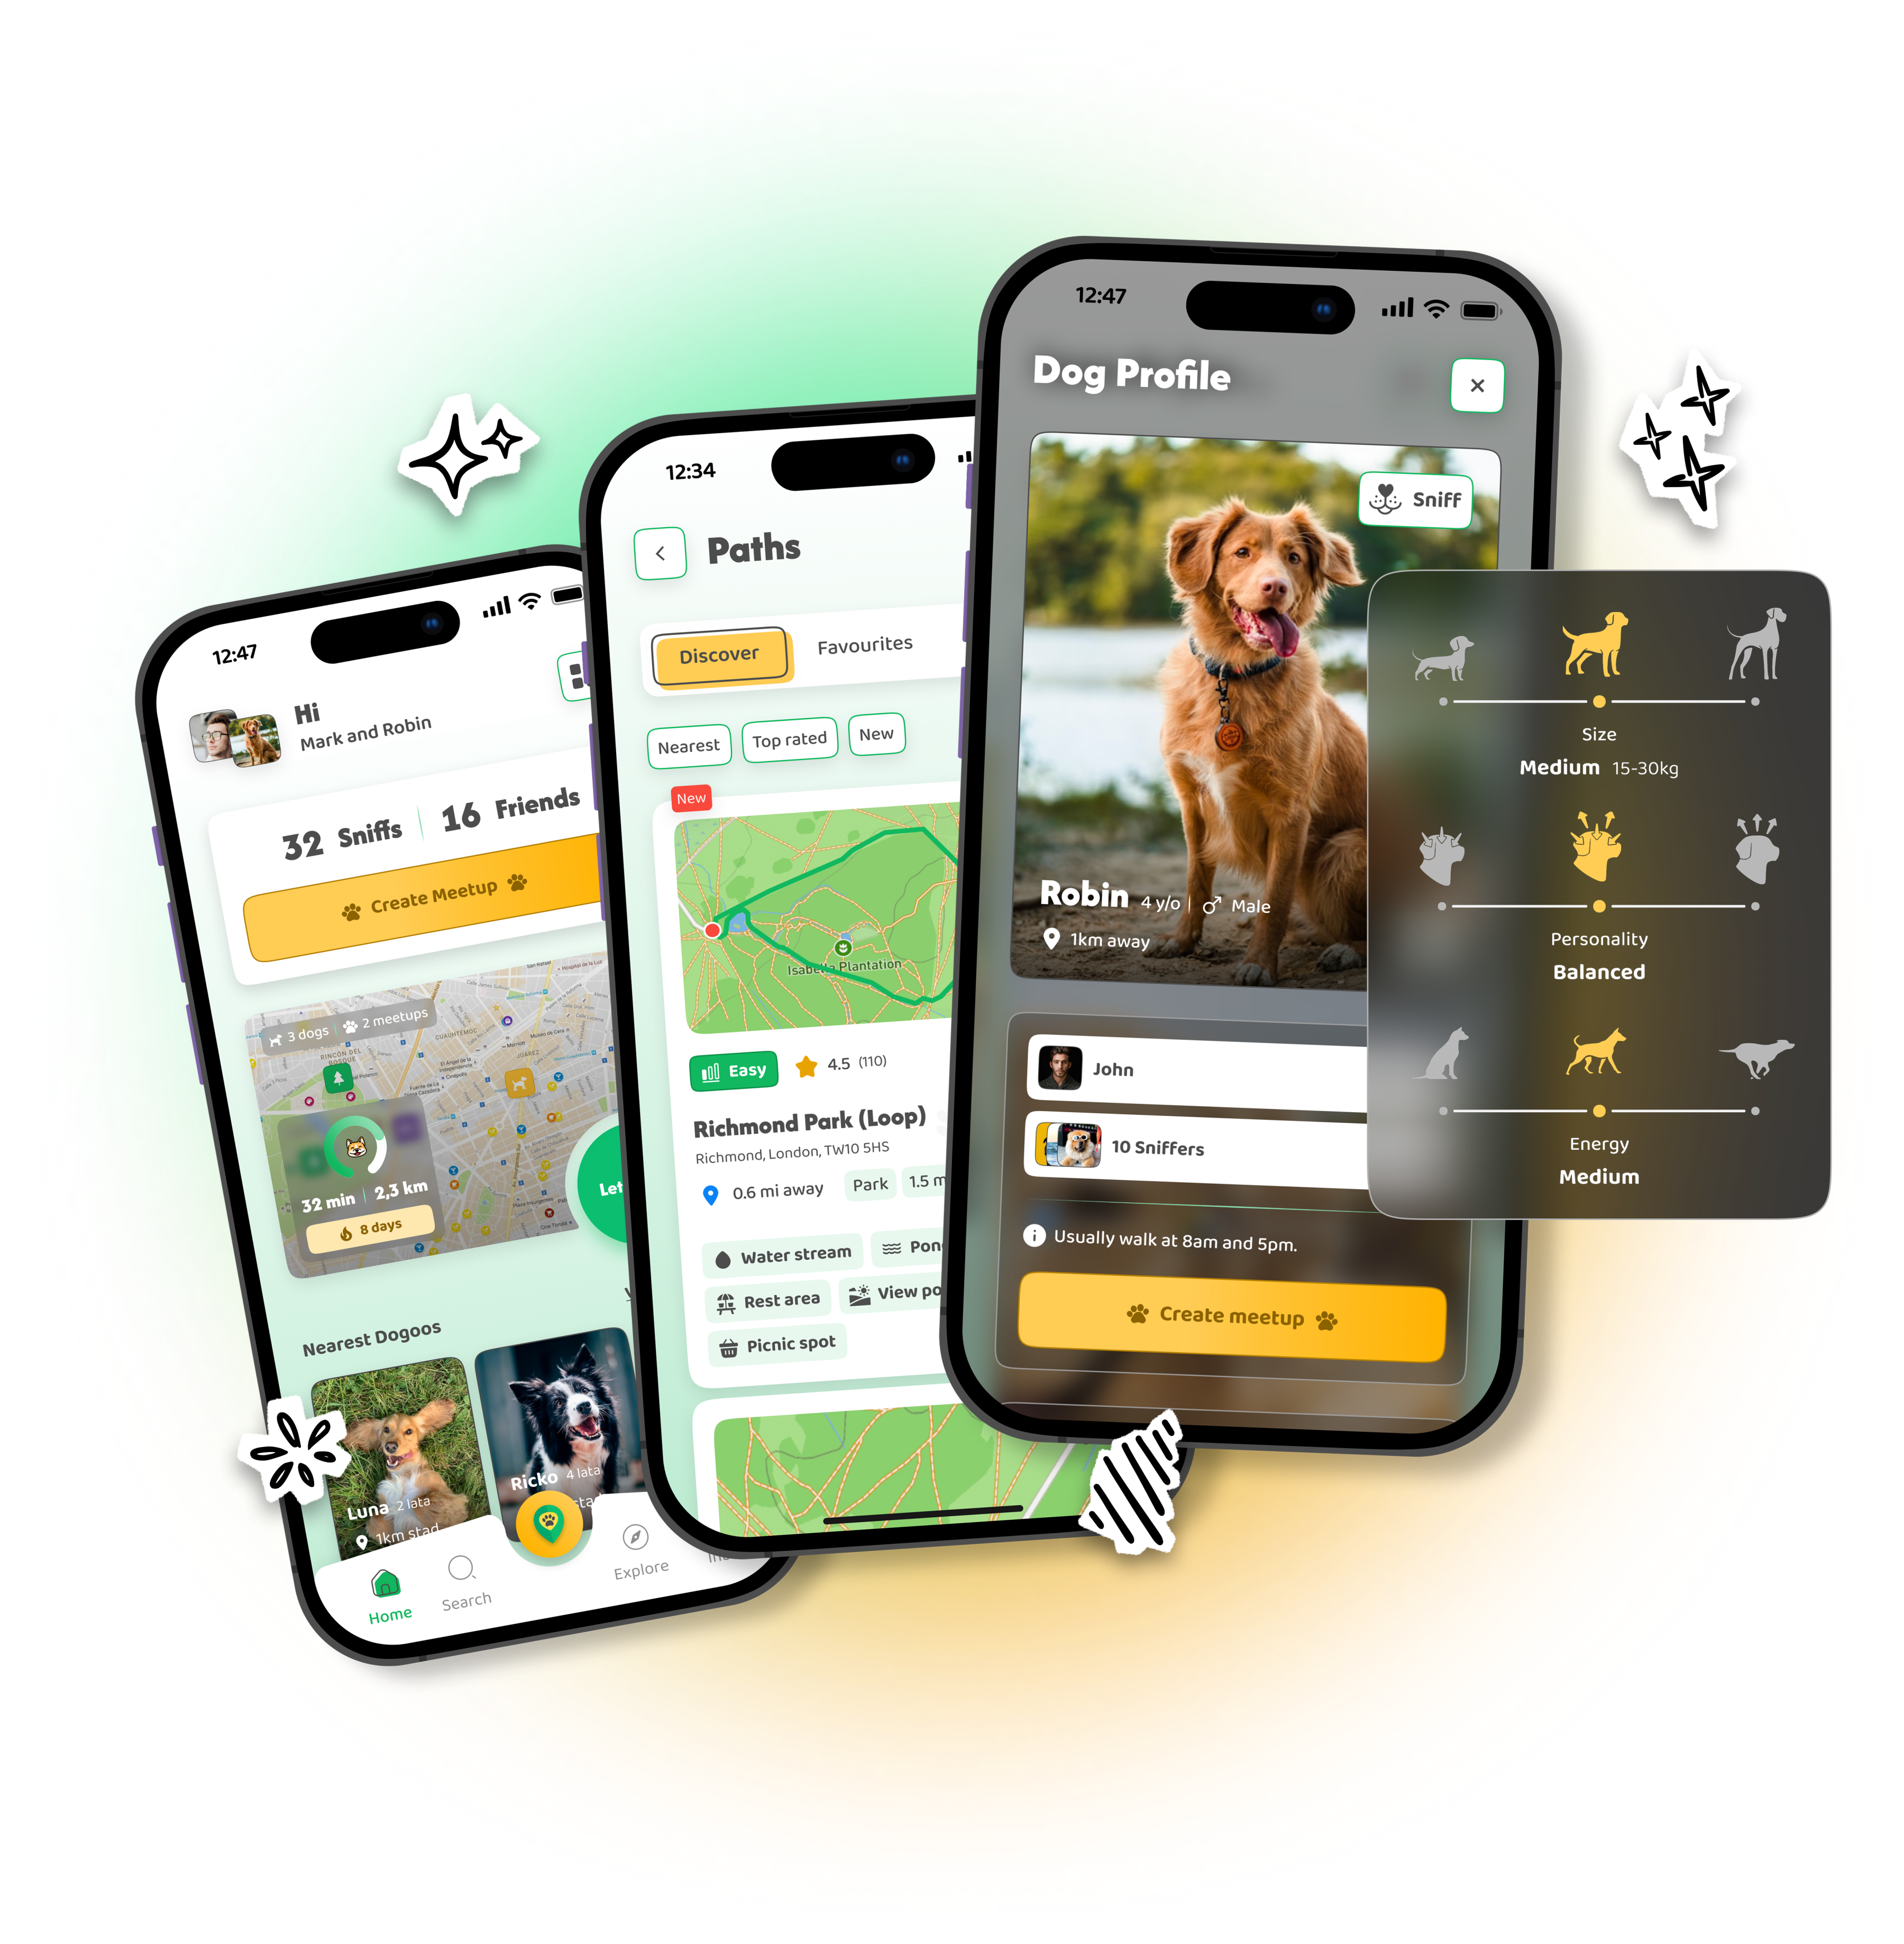
Mastering stay pays dividends on every single walk. When your dog waits quietly at your side, you can go to more places, meet more dogs, and enjoy every outing without stress. Find a quiet training spot near you - the DOGOUT map shows nearby off-leash areas and parks where you can practise without interruption.
Frequently asked questions
- Should I teach stay from a sit or a down?
- Both - but start with sit, as most dogs learn it faster. Once stay from a sit is solid, teach the same from a down. This helps the dog understand stay as a principle (hold position) rather than one specific posture.
- What is the difference between stay and a release cue?
- Stay tells the dog not to move. The release cue (such as 'free', 'ok', or a hand clap) tells the dog the exercise is over and they can move. Without a release cue the dog decides when to get up on their own - which undermines the whole command.
- How long should a dog hold a stay?
- It depends on your goal. In everyday life a 30-60 second stay is very useful - for example at a doorway or before a meal. Advanced training can build stays of several minutes with distance. Start with a few seconds and build gradually.
- My dog gets up before I release them - what should I do?
- Shorten the wait time to a level where your dog consistently succeeds. If they hold 10 seconds, practise at 5 seconds and reward there. Build up slowly. If they break position - reset without punishment, but without reward either, and start at an easier level.
- Can I teach stay without teaching sit first?
- Technically yes - stay can be built from a down or a stand too. What matters is that whatever starting position you use is already solid before you add duration. The base behaviour must be reliable before you layer on stay.
- Stay works at home but not at the park - why?
- A command learned in one place does not automatically transfer to new environments. Your dog needs to practise it in each new setting. Start with low-distraction locations and work up, as if you were teaching the command from scratch.